# Get started
In this guide you will learn how to get started with Vyte API. At the end, you will have created an organization, retrieved your API key and make your first request to test authentication.
WARNING
We remind here that the use of the Vyte API is reserved to pro members. Please refer to the pricing page for more information.
# Create an organization
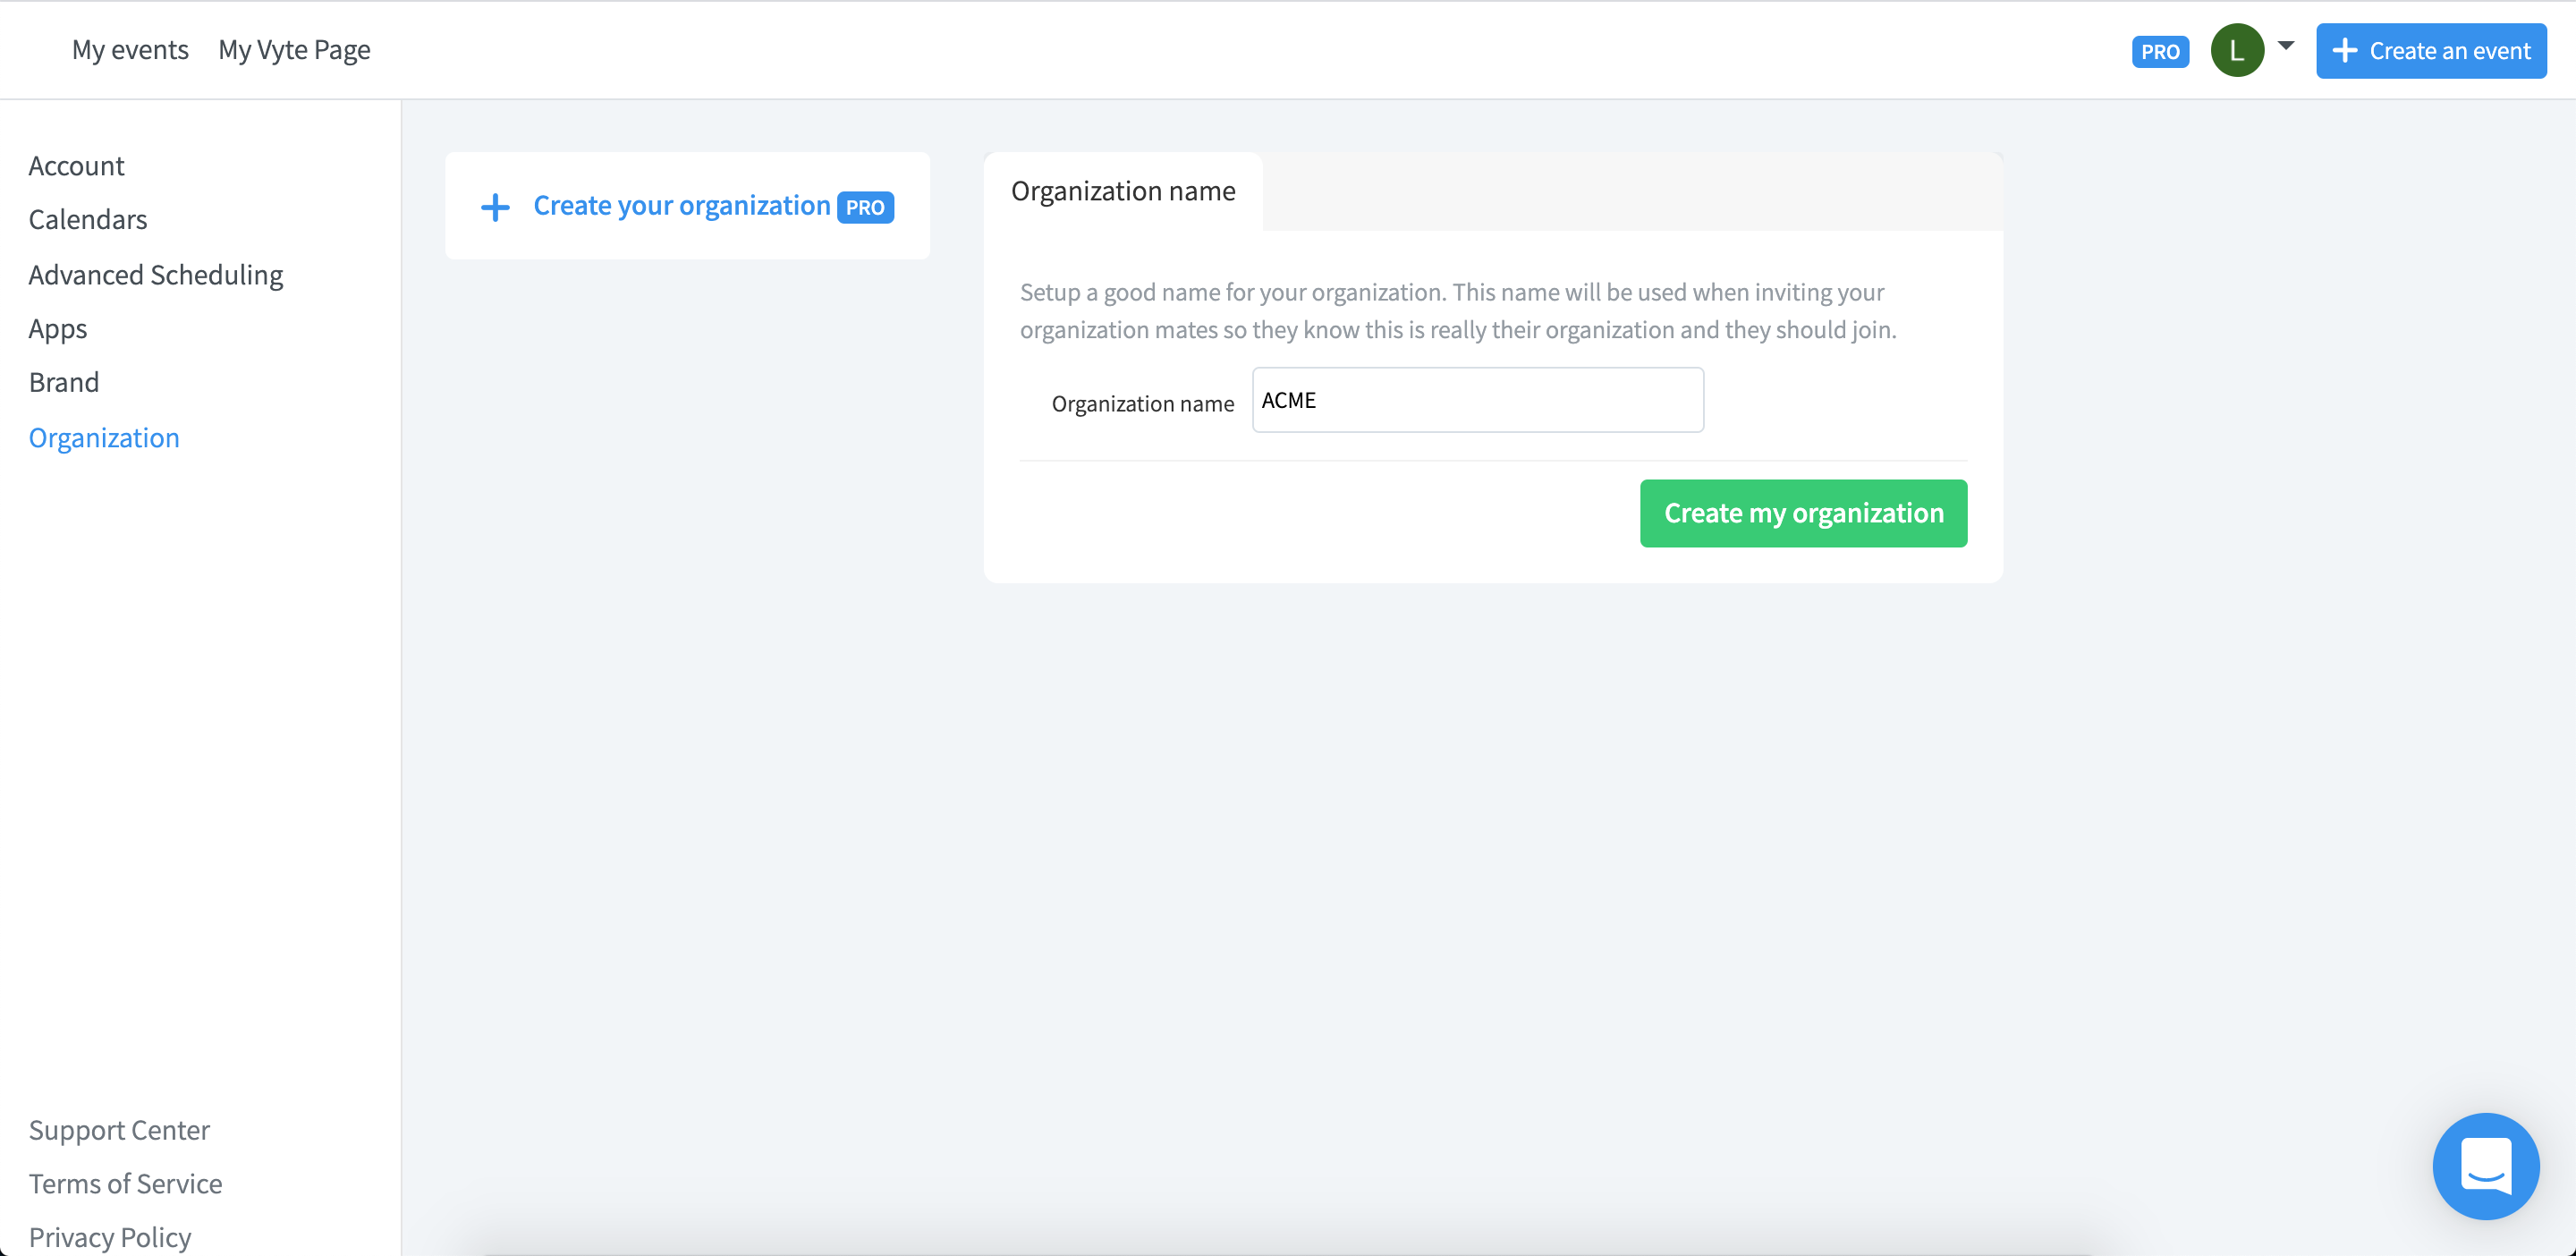
To be able to use the Vyte API, you first have to create an organization.
To do this, go to this page https://www.vyte.in/settings/organization/setup, give a name to your organization and click on Create my organization.

# Retrieve your API key
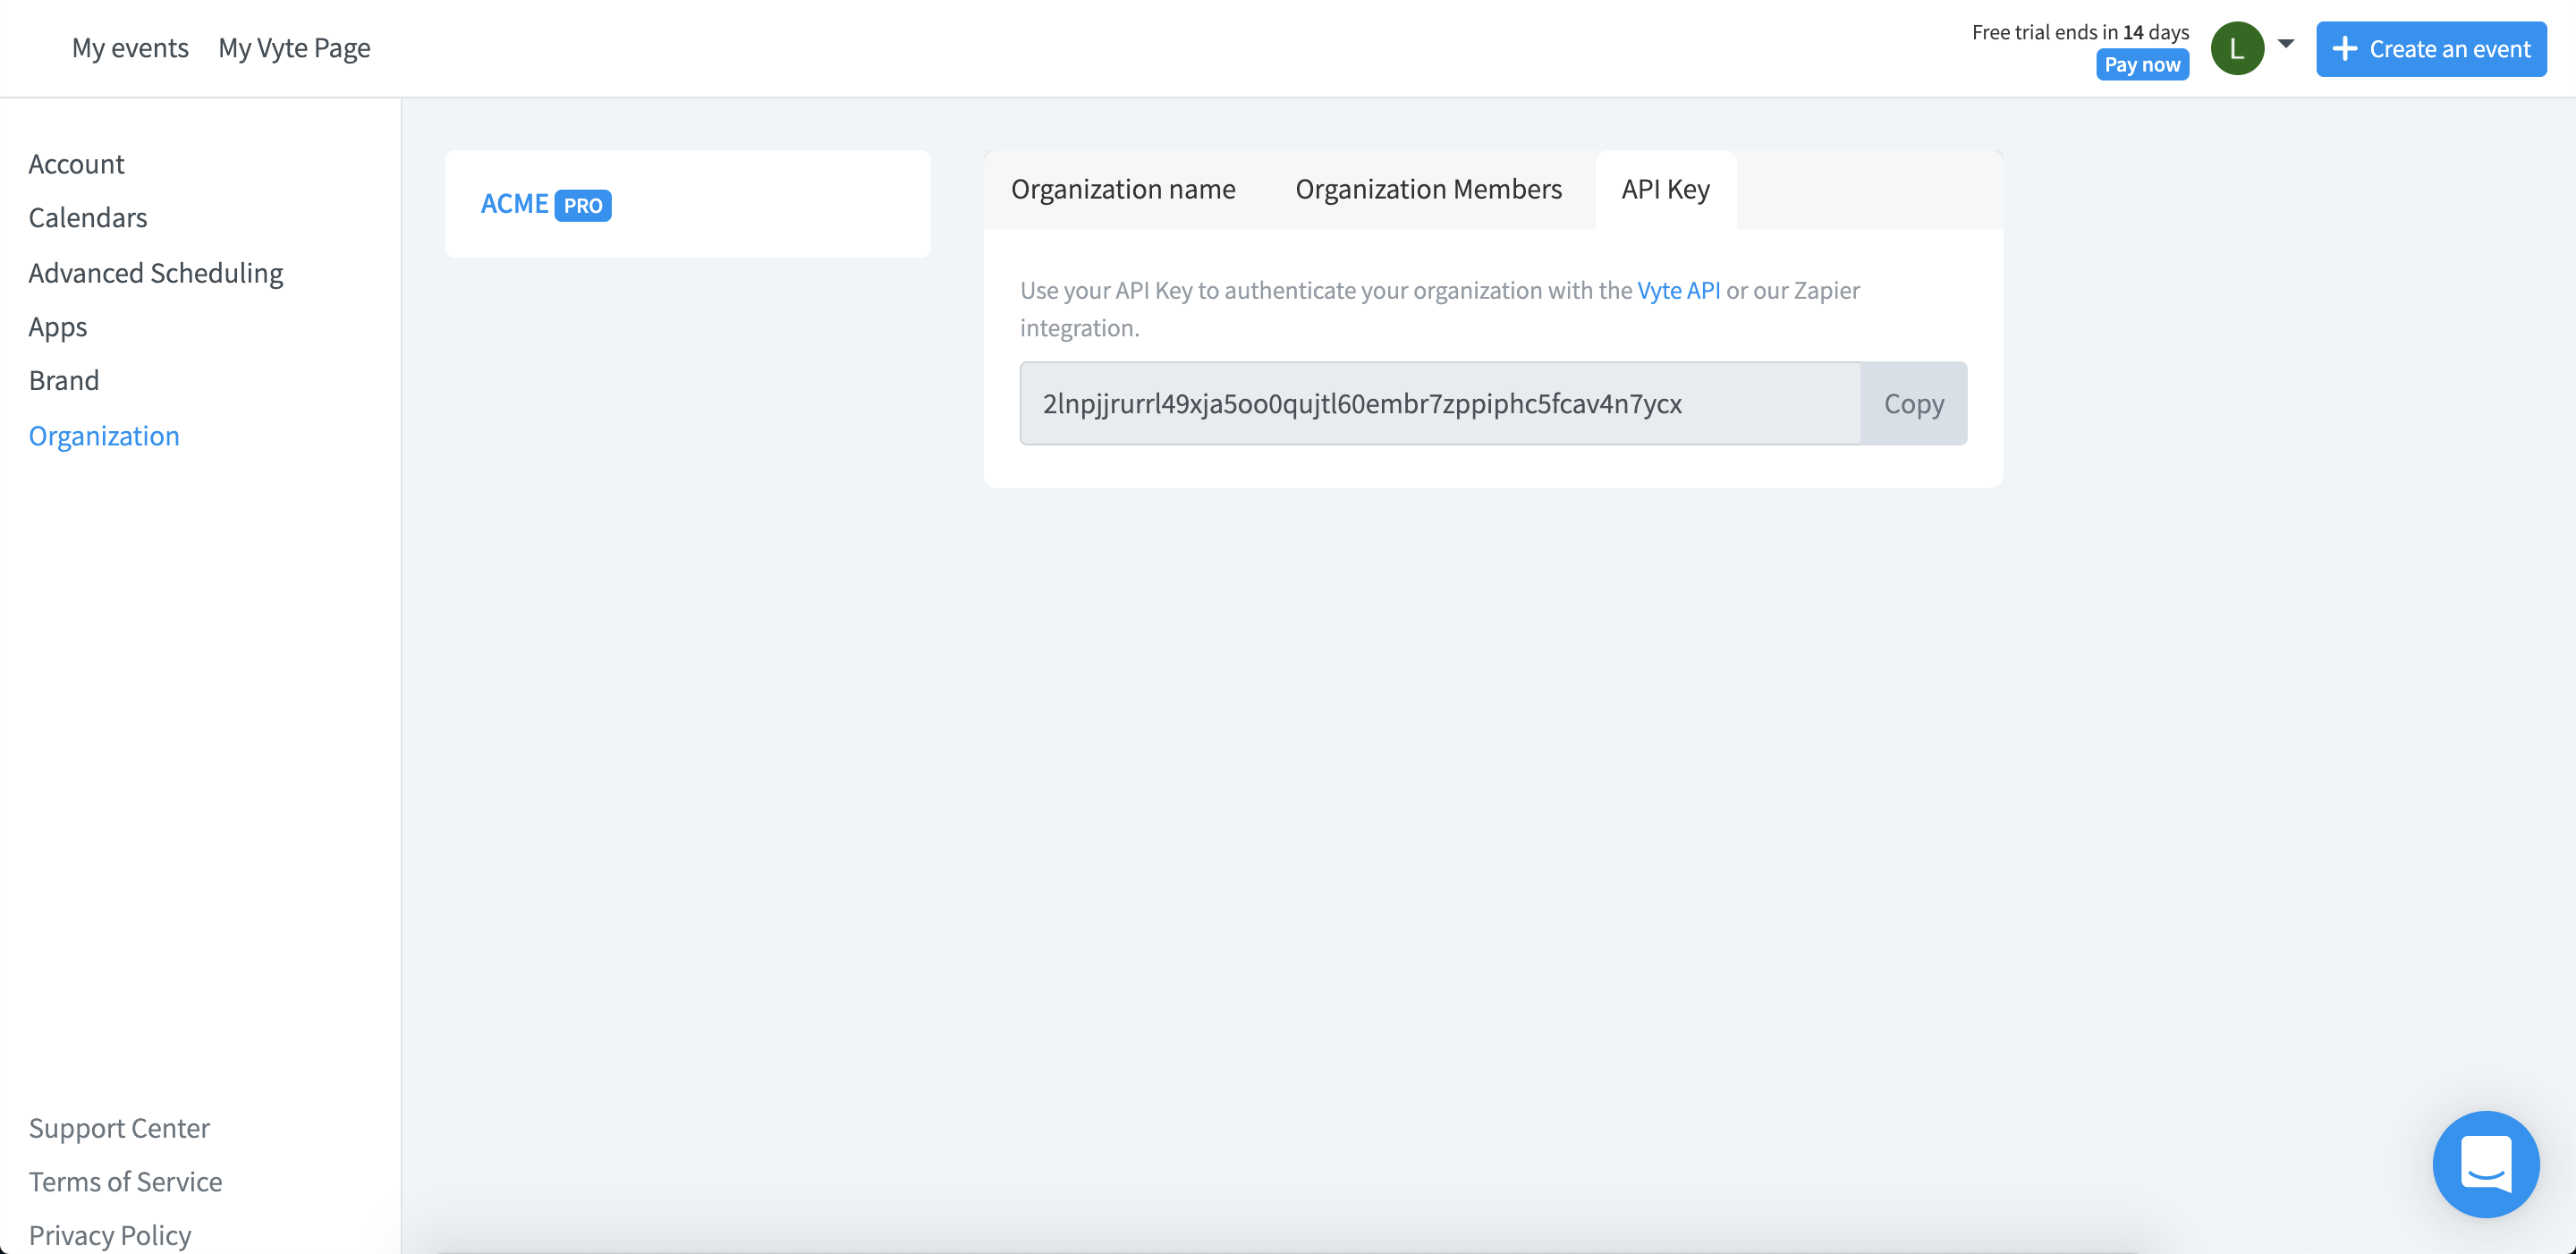
Once your organization is created, you can now access your Vyte API key.
This key is essential to use our API since all requests must be authenticated using it.

# Test your API key
Now you will be able to perform your first request. To stay simple, we will just test if your API key works well.
To do this, just make an HTTP request to https://api.vyte.in/v2/auth/test and authenticate the request with your API key :
curl --request GET 'https://api.vyte.in/v2/auth/test' \
--header 'Authorization: 2lnpjjrurrl49xja5oo0qujtl60embr7zppiphc5fcav4n7ycx' \
If everything worked well, the response should be an Organization object like this:
{
  "lang": "en",
  "admins": ["5f198d23c1ac5d0bcafc00ee"],
  "members": ["5f198d23c1ac5d0bcafc00ee"],
  "private": false,
  "_id": "5f198da1c1ac5d1a30fc00f3",
  "name": "ACME",
  "plan": "pro",
  "superadmin_team": "5f198da1c1ac5d283ffc00f4",
  "updatedAt": "2020-07-23T13:16:17.129Z",
  "createdAt": "2020-07-23T13:16:17.125Z",
  "__v": 1
}
# Conclusion
You're now ready to use the Vyte API.
In the following guides, you will learn how to use the API to automate your workflow. For example, the next guide will teach you how to create your first user and then set up his Vyte Page.